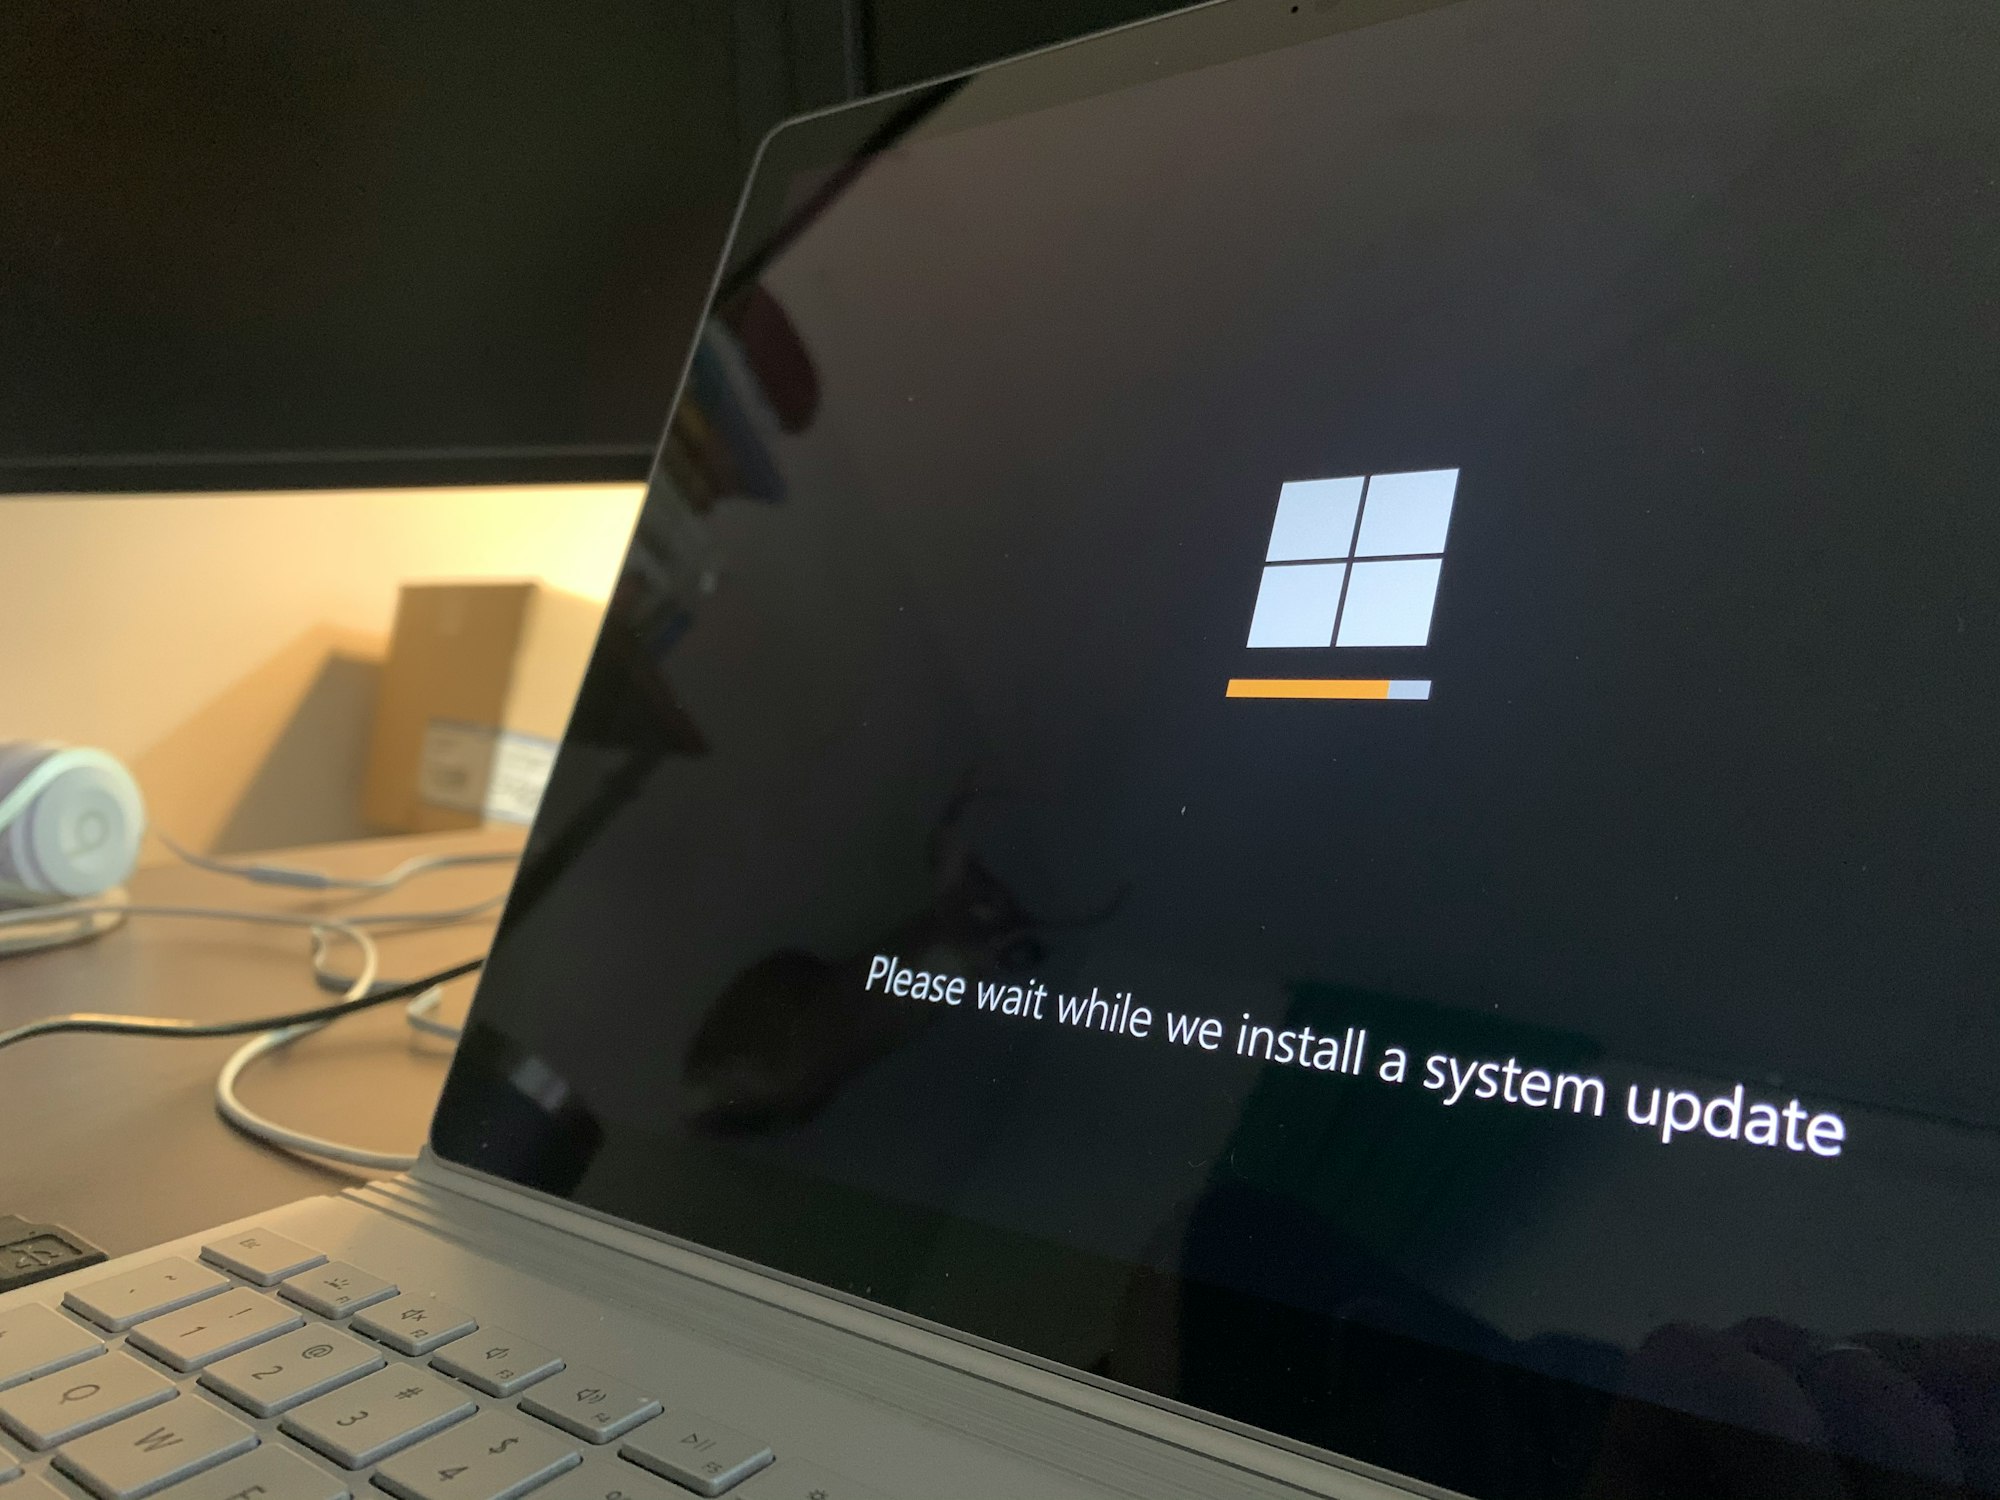
RfC: How to update your Ghost CMS correctly

Introduction
Once you run your self-hosted Ghost CMS installation, there will come a time when you have to update it to a new minor or major version. But that is being made more difficult since the official Developer documentation for the update process, here, misses some important steps.
So today, I will demonstrate with this RfC, what the correct and complete process of updating your Ghost CMS installation looks like.
Content of RfC
The developer documentation page talks about three important commands:
ghost check-updatetells you if your installation has an update availableghost backupcreates a backup file which contains everything important about your Ghost CMS installationghost updateactually runs through the update process
The steps guide that will follow contains all of these commands but with other added instructions in between that are missing from the official docs and are heavily recommended for everyone.
Let's start!
💡
This guide will demonstrate the process based on Ubuntu commands. Please substitute the directives in steps 2 and 6 with the correct variants fitting for your operating system.
- Log in to your server through SSH with your non-root user, that has sudo permissions
- Having an up-to-date OS is beneficial before touching Ghost itself, so run
sudo apt updateandsudo apt upgrade. If updates had to be installed, reboot the server withsudo reboot - When you installed Ghost you selected and gave a site name. With this name in mind, navigate to the CMS install folder with
cd /var/www/site-name/ - In there, we will now create a fresh backup in case anything goes wrong during the upgrade and you have to reinstall Ghost. We achieve that with
ghost backup - After that step is done, check the existence of the file with
ll - If everything is alright, we will create a virtual session to protect the upgrade process from an SSH disconnect. This step needs tmux, if this isn't installed on your OS, install it with
sudo apt install tmux, and then call it withtmux - Now we will check if the Ghost-CLI is up-to-date, so execute
sudo npm install -g ghost-cli@latest - After that command, we can now start the actual update process, so call
ghost update - Once the update itself finishes, I recommend also executing
ghost doctorto check for any defects that were caused by the update - If everything is fine there as well, let's reboot the server once more, so, close the tmux session with
Ctrl+Dand then sendsudo reboot - After your server is booted once more, you can enjoy your freshly updated Ghost CMS installation
💡
Our content is reader-supported. This means if you click on some of our links, then we may earn a commission.
You don't pay any extra for the usage of these links.
Thank you for supporting the author and this blog!
You don't pay any extra for the usage of these links.
Thank you for supporting the author and this blog!
