RfC: ACME DNS with Cloudflare on TrueNAS Scale

Introduction
When you are running a TrueNAS Scale system, there will come a time when you want a trusted SSL certificate protecting the WebUI. TrueNAS Scale of course supports importing a trusted certificate, bought from a Certificate Authority, but in the age of Let's Encrypt, spending money on a certificate isn't necessary anymore.
But to have a trusted cert issued by Let's Encrypt for TN Scale, there are a few hoops to jump through since the documentation by iXSystems sadly contains some errors, so this post will provide a helping hand.
Please be aware that you need to have the domain your FQDN is located at registered with Cloudflare as its authoritative nameserver. The FQDN doesn't have to be publicly resolvable for the process to work.
Content of RfC
Before I explain the right steps, I will quickly point out the error within the documentation. On the page https://www.truenas.com/docs/scale/scaletutorials/credentials/certificates/certificatesscale/, you will find the following sentence:

It is located at the bottom of the page in the ACME DNS-Authenticators section. It wrongly implies that you need your CF account mail address, API Key and API token (so all three of these) to be able to use the ACME DNS feature. But that is a remnant of the days when it was necessary to use the Global API key Cloudflare provides with every account.
With that out of the way, let's get us a certificate.
Steps in the Cloudflare Dashboard
We will start with creating the custom API token.
Go to https://dash.cloudflare.com/profile/api-tokens and click on Create Token. It will give you some templates, but we don't need them, go to Get started next to Create Custom Token.
Give your token a speaking name, select the DNS:Edit permission by selecting Zone, DNS and Edit in the three drop-downs under Permissions. Then, under Zone Resources, select Include, Specific zone and your zone where the FQDN of your TN Scale system is located.
Click on Continue to summary, check that everything matches your inputs and then onto Create Token.
The site will show your API token at the top, copy it to a safe place, we will need it later.
Steps in TrueNAS Scale
Open a new tab in your browser and open the TrueNAS Scale WebUI.
Log in and go to Credentials > Certificates.
In there, go to Add under ACME DNS-Authenticators.
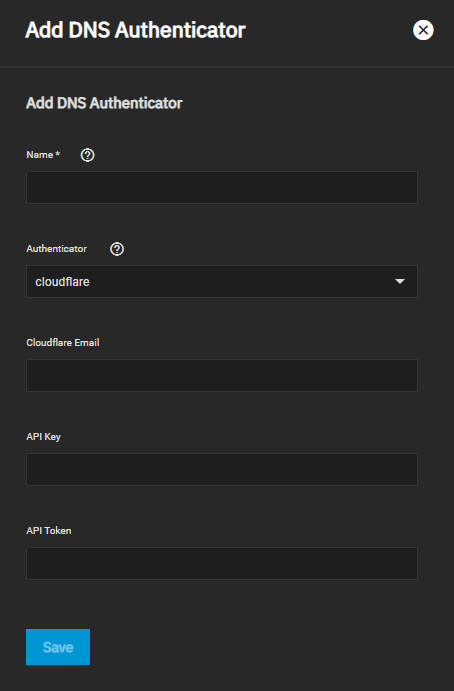
Fill in a speaking name for the authenticator (since its Cloudflare, combining CF with your company name [if used commercially] is one possibility, so e.g. Contoso CF) and copy over the freshly created API token into the API Token field (instead of filling in all fields like the documentation told us).
Click Save, it will throw you back to the Certificates dashboard and you see your added entry under the ACME DNS-Authenticators.
Now we need a Certificate Signing Request. The GUI is created counterintuitive here since we have to create a CSR that will not be used later, just because we need a button that is not exposed right now.
Click Add under Certificate Signing Requests.
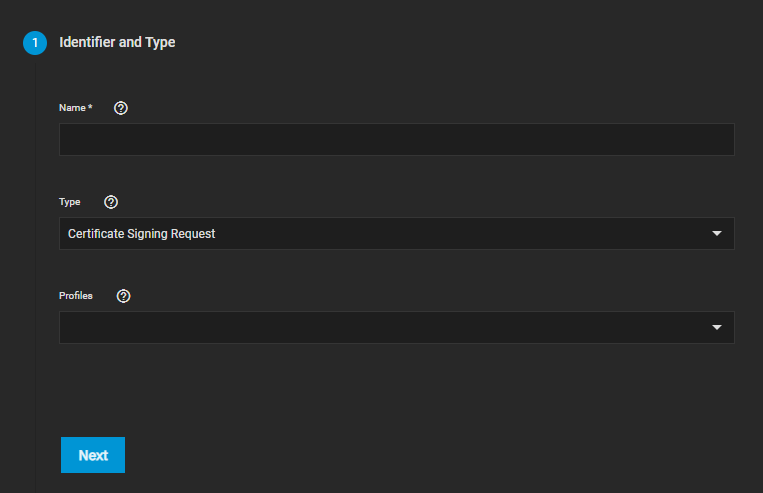
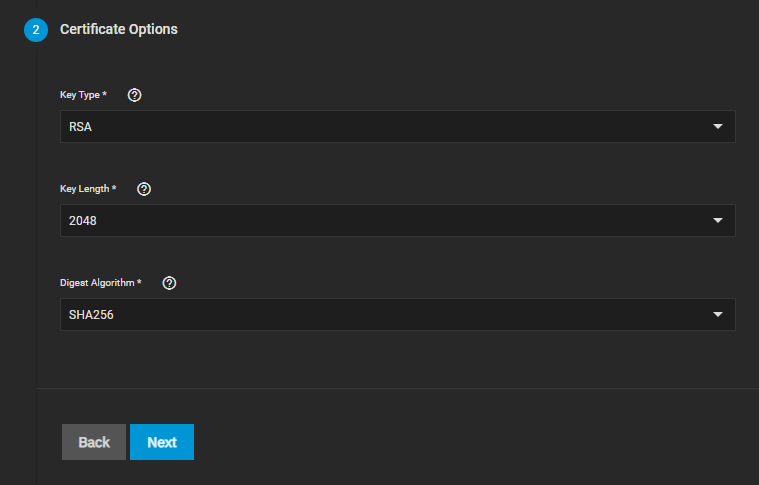
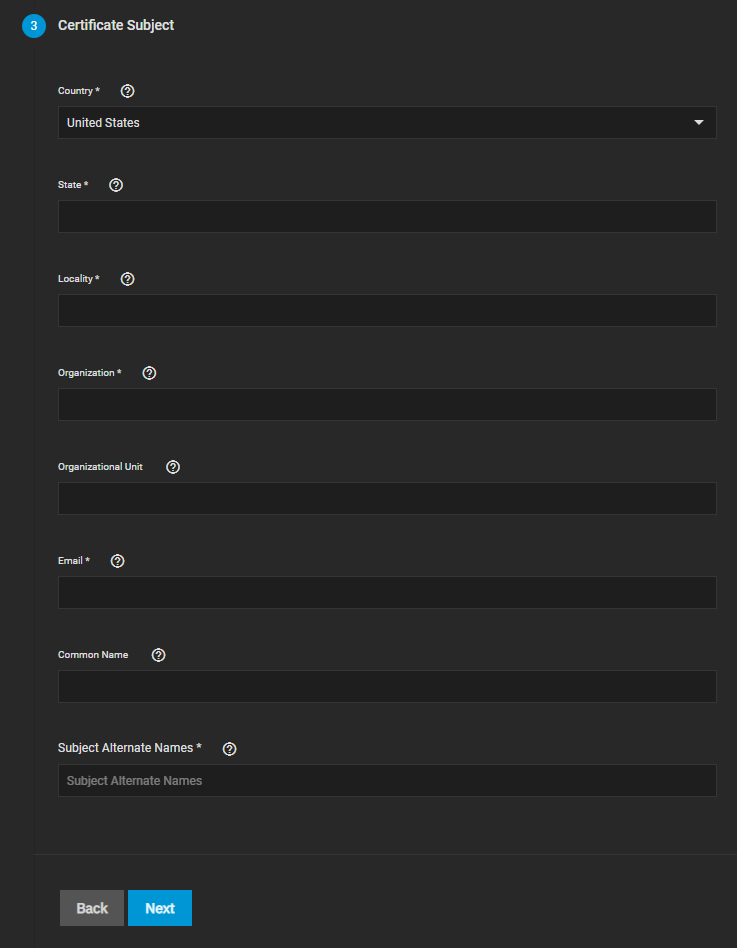

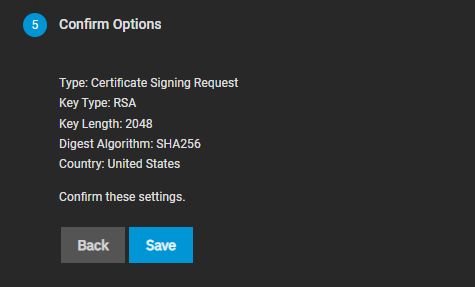
Now go through all 5 steps, filling out the required fields and leaving everything else at standard (see the screenshots above for best practice settings). Under Common Name and Subject Alternate Names in step 3, fill in your Scale FQDN.
Again, click Save and we can see our new entry under Certificate Signing Requests.
After we did that, we now have access to the button we need, it's the wrench next to the download and delete buttons on the CSR entry we just created:
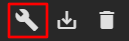
Click on it and this blade opens:

The FQDN of your instance will show up under the Add domains section down the page, this will be important later.
Enter a sensible Identifier and add the word Staging at the end since we will test if everything was correctly configured, check the ToS checkbox, increase the Renew Days field from 10 to 20, leave the directory URI at Let's Encrypt Staging Directory for now, and select the Cloudflare Authenticator we created earlier for both domains.
When you Save, the system will go ahead and run through all the necessary steps to get the certificate from Let's Encrypt and import it into your Scale instance. After it finishes, you will see your new certificate at the left side under Certificates.
When you got to this step with no problems so far, we can now issue the real certificate.
Click on the wrench again, fill out the blade from before exactly the same, only now leaving out Staging at the end of the Identifier and selecting the Let's Encrypt Production Directory as the Directory URI.
Once again, the system will run through the steps and after that, you have your real certificate.
Now you only need to go to System Settings > General, open Settings under GUI and select the Production certificate we created last. When saving, Scale will ask you to confirm a restart of the web server and then the certificate will be active.
Please be aware that the Cloudflare API token needs to be kept (as in, not deleted in the Dashboard) because Let's Encrypt will need to renew its certificate every three months and it needs the token for that.
You don't pay any extra for the usage of these links.
Thank you for supporting the author and this blog!